
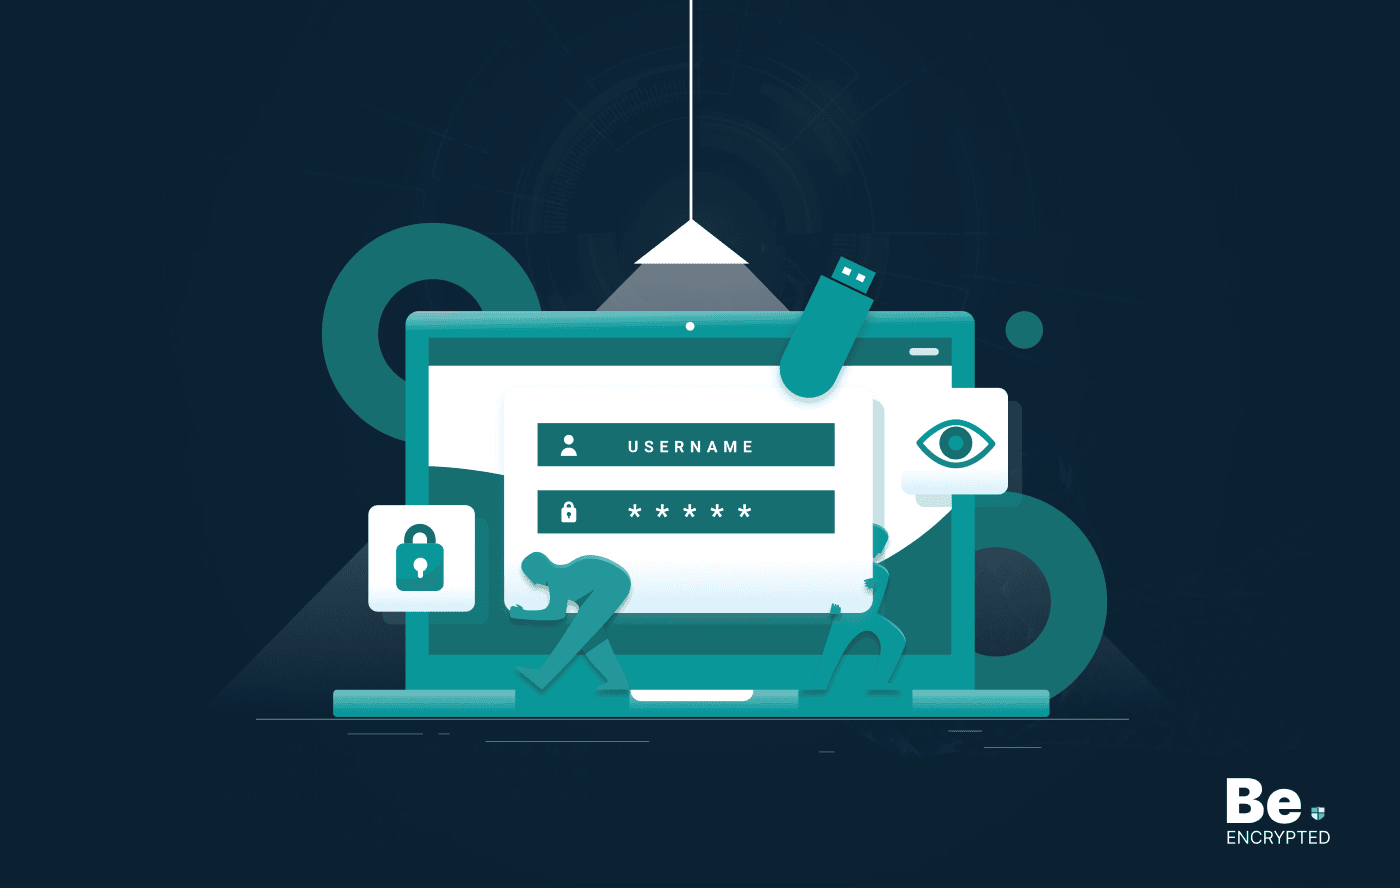
Encryption is an important method for protecting your files and hard drive. Mac offers a built-in hard drive encryption software, FileVault. You can use FileVault to encrypt your hard disk. However, you must remember the encryption key to keep acessing your files.
FileVault is a Disk encryption program for macOS that saves your data if your Mac is ever stolen or misplaced. So, a misplaced macOS is not something to worry about. FileVault is a whole-disk encryption that secures Mac by encrypting all the data at rest on its hard drive.
However, if you are unfamiliar with FileVault encryption and the process, this article will help you understand it. So, read on to discuss things in detail.
What is FileVault disk encryption?
FileVault is a term for disk encryption specified for Mac. It was introduced with macOS Panther (10.3) and has been in its current incarnation since OS X 10.7 “Lion” was launched. Using XTS-AES 128 block cipher technology, FileVault secures your Mac’s hard drive. Whenever your Mac is started, you are required to enter the password if FileVault is opened. Without entering the required password, the data is not recognized.
This will be the same password you create while encrypting the hard disk via FileVault. Without this password, nobody could access the original data from the drive. Even you couldn’t reach the data.
However, the recent OS X versions have allowed users to access their data using an iCloud account.
So, if you are concerned about your private data, FileVault encryption provides a secure way to protect data if your Mac is lost or stolen. Another significant cause for which Apple also recommends using FileVault is the opportunity to delete data securely from a Mac equipped with an SSD whenever you stop using it.
Should I use FileVault?
When connected to a computer or accessing data through browsing, FileVault Mac encryption provides a secure feeling, protecting your data from malicious intrusion.
The fact that Filevault encryption in Mac requires a password that involves memorization to get to the drive makes computer processing more complex. So, if you are not good at remembering passwords or don’t want to bother, consider whether your approach is worth the effect.
Hardware encrypting features are incorporated into the CPU to make FileVault operate faster. Also, newer Mac devices use Solid-State Drive (SSD) flash instead of spinning hard drives, which improves performance. This is why Apple turned FileVault on by default instead of keeping it off.
If you are still using a Mac with a hard drive, you will find a massive difference between FileVault-encrypted Mac and the older one. But before turning on FileVault, ensure your Mac is up to the mark.
Consider warning before using FileVault
There are specific warnings you should remember before turning on FileVault encryption on Mac.
- You should always know that the initial encryption and decryption process will take time.
- You can use your Mac while FileVault is set up, as the encrypting process is done in the background. Therefore, Mac users must put their laptops in and run while the FileVault encrypting process is complete.
- It is observed that a FileVault with a regular hard drive is more challenging than a FileVault with flash-based storage. So, if your older Mac is still equipped with a spinning drive, you might want to upgrade your FileVault.
Furthermore, FileVault encryption requires a password, which gives you access to your data. Your data would be lost and unreachable without that encrypted key, so secure it safely. However, if you use OS X 10.10 “Yosemite” or later, you can recover data by inserting your iCloud account information when needed.
Lastly, you need to know that FileVault is a whole-disk encryption that enables users to unlock the disk by entering their password.
How to turn on FileVault encryption in macOS
You can follow specific steps if you consider getting FileVault for disk encryption.
- Click on the menu.
- Click on >System Preferences.
- Click on >Security & Privacy.
- Click on the >FileVault tab.
- Click the lock in the lower right-hand corner.
- Enter your administrator password.
- Click the >Unlock button.
- Click the >Turn On FileVault button.
- If you want to reset your password or unlock your disk, Apple connects your FileVault with your iCloud account. FileVault also gives you the recovery key, which you must keep safe if anything goes wrong with the password. Choose an option, then click the >Continue button.
- Click the Restart button to restart your Mac and begin the FileVault encryption process. The process will take a little while because it rewrites the drive’s contacts on your computer. The Mac will continue operating while it’s going on.
Choosing a FileVault recovery key
We cannot fail to mention the importance of FileVault recovery. If you opt for this option instead of linking your iCloud account, you should be keen on your recovery key and ensure you store it in a safe place. Avoid storing such data in your hard drive, as it could be unrecoverable if you lose it.
Therefore, a password manager is your best option, as it provides a safe and secure storage option.
How do I turn off FileVault?
After encrypting your disk, you have the option to disable FileVault. This may be a suitable choice if you feel the feature consumes excessive resources or doesn’t require such a high level of security.
- Select the Apple menu and choose ‘System Settings.’
- Click ‘Privacy & Security.’ Locate the FileVault tab and click on it. Select the ‘Lock icon’ in the window’s bottom left corner to proceed.
- Provide your administrator name and password when prompted.
- Next, click on the option to ‘Turn Off FileVault.’
By doing so, you initiate the decryption process for your files. Like encryption, this process runs in the background, and it can take a significant amount of time.
FileVault is enabled; What now?
After FileVault encrypts your Mac’s hard disk, you must enter a password every time you start up your Mac. However, FileVault requires a password to decrypt the drive; it will not need a password if you have customized it to log in for a specific user or administrator account automatically.
Your Mac will normally run after you enter the password, except any data written to the Mac’s primary storage system (its internal SSD or hard drive) will be encrypted and decrypted on the fly. However, processes like copying information over the network, uploading files to the Internet, or transferring files to external devices like USB thumb drives, hard disk drives, or NAS devices would remain the same.
Other ways to keep my activities private on Mac
FileVault’s capabilities extend to user data and encryption. However, the feature does not protect other activities on your Mac, such as software downloads, messaging, and web browsing.
Here are other techniques to protect your data and maintain your privacy:
Use the firewall
The built-in firewall feature on Macs can help protect you from network intrusion. Follow these steps to activate the firewall on Mac.
- Go to ‘System preferences
- Open ‘Security and Privacy
- Enable firewall
Additionally, activate the Stealth Mode to ensure your computer doesn’t respond to access attempts from the same network using tools like Ping. Ideally, this feature makes it hard for intruders to infringe on your data when using public networks.
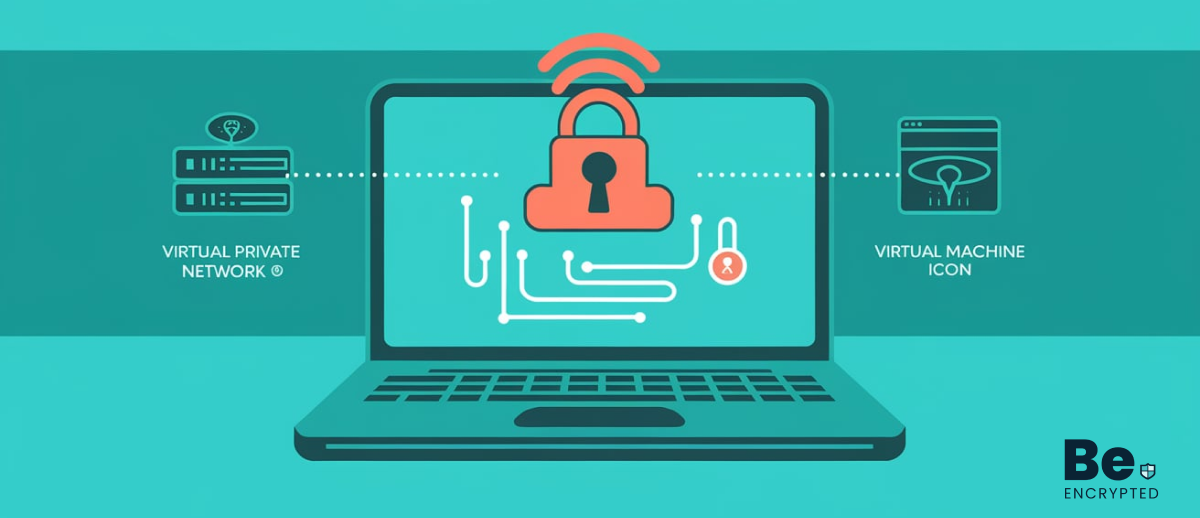
Use a VPN
It is highly recommended to use a VPN on your Mac device. Virtual Private Networks (VPNs) make it hard for cyber criminals and other third parties to monitor your online activity by encrypting your online traffic. If your workplace provides you with a VPN, you should use it.
If not, consider investing in a reliable VPN like NordVPN. Also, avoid free VPNs because they have more risks than benefits. For more top-notch VPN services, we have provided a complete guide.
Enable two-factor authentication
Enabling two-factor authentication (2FA) on your Apple device is an excellent way to protect your privacy. The feature prompts a confirmation code whenever a third party attempts to log in to your account using your credentials. To log in successfully, you must authorize access using OTP sent to your authorized contact number or email.
The feature is helpful as it keeps your account safe from prying eyes. To activate 2FA on your Mac, follow these steps:
- Go to system preferences
- Open Apple ID, then iCloud
- Go to Password & Security
- Turn on the 2FA
- Confirm it is your phone number
FAQs
Share this article
About the Author
Waqas is a cybersecurity journalist and writer who has a knack for writing technology and online privacy-focused articles. He strives to help achieve a secure online environment and is skilled in writing topics related to cybersecurity, AI, DevOps, Cloud security, and a lot more. As seen in: Computer.org, Nordic APIs, Infosecinstitute.com, Tripwire.com, and VentureBeat.
More from Iam WaqasRelated Posts

How to Encrypt Your Emails on Gmail, Yahoo, Outlook, and G Suite
KEY TAKEAWAYS Email encryption is necessary amid rising cyberattacks. It secures your email from thi...
How to Encrypt a Flash Drive on Windows, MacOS, and Linux
KEY TAKEAWAYS It is crucial to encrypt or password protect your flash drive, as they can be stolen o...
2 Best Ways to Encrypt Your Files and Folders in macOS
KEY TAKEAWAYS Many people use mac becasue of its robust privacy and security features. However, most...
How to Encrypt PDF Files on macOS and Windows
PDFs are the most common attachments in the email after docs. These lightweight, presentable documen...
How to Encrypt and Decrypt Folders in Windows in 2025
KEY TAKEAWAYS Windows is the most used desktop OS. However, it is vulnerable to cyberattacks. Theref...
3 Best Ways to Encrypt uTorrent or BitTorrent Traffic
KEY TAKEAWAYS You can adopt many ways to encrypt uTorrent or BitTorrent traffic, but the most reliab...